
Learn how to properly fit your mouthguard using the boil-and-bite method. This guide provides step-by-step instructions for softening, shaping, and cooling your mouthguard for a secure, comfortable fit.
Overview of Boiling Mouthguards
Boiling mouthguards, also known as “boil-and-bite” mouthguards, are a popular choice for athletes. They are made from thermoplastic material that softens when submerged in boiling water, allowing for a custom fit. This method provides better protection and comfort compared to stock mouthguards. The process involves softening the guard in hot water, shaping it to your teeth, and letting it cool for a secure fit. They are cost-effective and widely available.
Importance of Proper Fitting
A proper fit is crucial for the mouthguard to provide optimal protection and comfort. A well-fitted mouthguard stays in place during activity, reducing the risk of injury. It ensures even distribution of impact forces and prevents discomfort or speech difficulties. Improper fitting can lead to a loose guard, which may cause chewing difficulties or lack of protection. A secure fit enhances performance and safety during sports or physical activities.
Materials and Tools Needed
A pot of boiling water, a slotted spoon or tongs, and ice water are essential. These tools help soften and shape the mouthguard for a proper fit.
Boiling Water Requirements
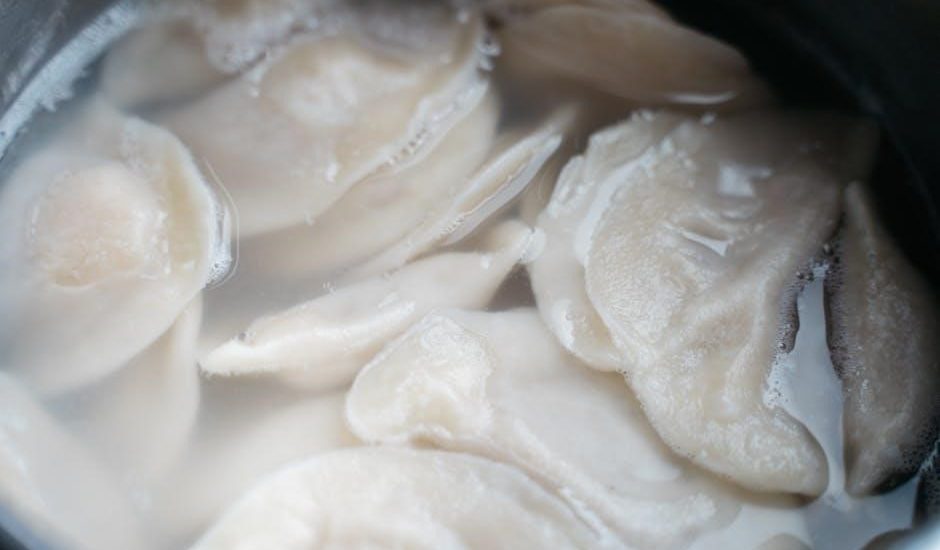
Use fresh boiling water at 90°F to 100°F. Submerge the mouthguard for 30-60 seconds to soften it. For dental work or braces, reduce boiling time to 30 seconds. Avoid overheating, as it may shrink the mouthguard. Ensure enough water to fully cover the mouthguard during soaking. Never exceed 60 seconds to maintain proper shape and fit. This step is crucial for safe and effective shaping.
Additional Tools (Tongs, Slotted Spoon, etc.)
Use tongs, a slotted spoon, or the mouthguard’s tether to safely handle it in boiling water. These tools prevent burns and ensure the mouthguard is fully submerged. A slotted spoon is ideal for removing excess water, while tongs provide precise control. Avoid using bare hands to handle the hot mouthguard. These tools are essential for a safe and effective fitting process, ensuring proper shaping without damage or injury.
Step-by-Step Boiling Process
Submerge the mouthguard in boiling water for 30-60 seconds. Use tongs or a slotted spoon to handle it safely. Follow the manufacturer’s instructions for optimal results.
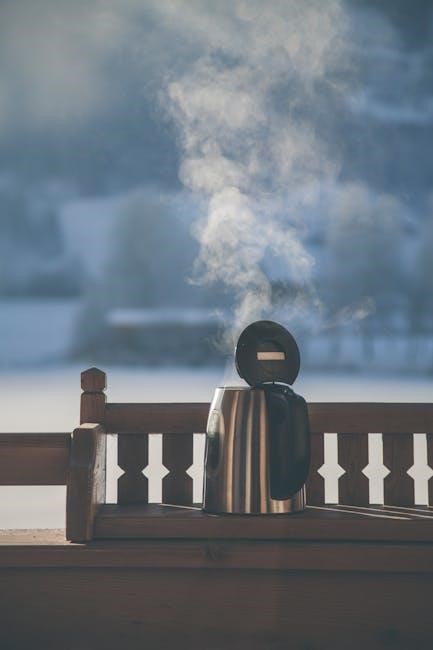
Preparing the Boiling Water
Fill a pot with enough water to fully submerge the mouthguard. Bring the water to a rolling boil on a stove or using a microwave. Ensure the temperature exceeds 90°F for proper softening. Let the water stand for 30 seconds after boiling to avoid overheating. Use tongs or a slotted spoon for safe handling. Avoid using water that’s too hot, especially for mouthguards with braces or dental prosthetics.
Softening the Mouthguard in Boiling Water
Submerge the mouthguard in boiling water for 30 to 60 seconds. Ensure it’s fully covered to soften evenly. If you have braces, reduce the time to 30 seconds to prevent excessive softening. Use tongs or a slotted spoon to carefully remove it. Avoid overheating, as it may cause the mouthguard to shrink or lose shape. The goal is to achieve a pliable texture for easy molding.
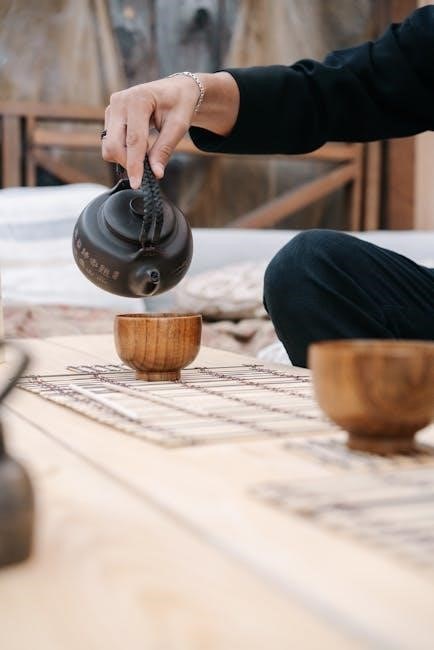
Shaping the Mouthguard to Fit Your Teeth
Once softened, remove the mouthguard from the water with tongs or a slotted spoon. Gently shake off excess water and immediately press it over your top teeth. Bite down firmly for 30 seconds to create a tight seal around your teeth and gums. Use your fingers to mold the edges for a snug fit. The heat and pressure will shape the mouthguard to your dental structure, ensuring optimal protection and comfort.
Cooling Down the Mouthguard
After shaping, allow the mouthguard to cool slightly in your mouth or dip it in ice water for faster cooling. This step is crucial to set the shape and prevent it from becoming too rigid. Avoid rushing the cooling process, as improper cooling can lead to discomfort or improper fit. Ensure the mouthguard is fully cooled before removing it to maintain the custom shape.

Key Considerations
Ensure proper temperature control and timing to avoid overheating or underheating the mouthguard. Handle it carefully to prevent damage, and store it correctly after cooling for optimal results.
Temperature and Timing Guidelines
Boil water to a temperature above 90°F to soften the mouthguard. Submerge the mouthguard for 30-60 seconds, depending on its thickness and your needs. Avoid overheating, as it can cause distortion. For those with dental work, shorter times are recommended. Use a slotted spoon to remove the mouthguard and avoid exceeding the recommended duration to maintain its structural integrity and ensure a proper fit.
Handling the Mouthguard Safely
Always use tongs or a slotted spoon to handle the mouthguard after boiling to avoid burns. Let it cool slightly before biting to prevent discomfort. Avoid biting too aggressively, as this can cause damage. Ensure the mouthguard is not overheated, as it may shrink or lose shape. Handle it gently to maintain its integrity and achieve a proper fit. Safety precautions are essential to avoid injury and ensure optimal results.
Tips for Customizing the Fit
- Use ice water to cool the mouthguard faster, allowing for precise shaping and a snug fit.
- Adjust the mouthguard gently to ensure comfort and proper alignment with your teeth for optimal protection.
Using Ice Water for Faster Cooling
Dipping the mouthguard in ice water after boiling helps cool it down quickly, preventing overheating. This method allows for precise shaping and ensures the mouthguard retains its form. After boiling, immediately transfer the mouthguard to ice water to stop the cooking process. This step is crucial for achieving a snug, comfortable fit without making the material too rigid.
Adjusting the Mouthguard for Comfort
After boiling, carefully place the softened mouthguard over your teeth and bite down gently to create a snug fit. Use your fingers to press and mold the material around your teeth and gums for added comfort. Ensure the mouthguard covers all necessary areas without causing discomfort. Proper adjustment ensures a secure, personalized fit tailored to your dental structure for optimal protection and ease of use during activities.
Alternatives to Boiling Mouthguards
Stock mouthguards are pre-made and ready for immediate use, while custom-made options offer superior fit and protection tailored to individual dental needs, bypassing the boiling process entirely.
Stock Mouthguards
Stock mouthguards are pre-formed and available in standard sizes. They are affordable and offer immediate protection without customization. However, they may not fit as securely as boil-and-bite or custom models, potentially reducing comfort and effectiveness. Common among casual users, they are a practical choice for those seeking quick, no-fuss dental protection during sports or activities.
Custom-Made Mouthguards
Custom-made mouthguards are tailored for individual dental structures, offering superior fit and protection. They are crafted by dentists using impressions of the teeth for optimal comfort and durability. These guards are recommended for athletes with braces or unique dental needs, providing unparalleled support and minimizing the risk of injury. While more expensive, they are the most effective choice for long-term use and personalized fit.
Common Mistakes to Avoid
Overheating the mouthguard can cause it to shrink or lose shape. Improper cooling techniques may lead to a poor fit. Avoid exceeding recommended boiling times to prevent damage.
Overheating the Mouthguard
Overheating can cause irreversible damage, shrinking the mouthguard and making it too small. Exceeding the recommended boiling time softens the material beyond repair. Always follow the manufacturer’s guidelines to avoid this common mistake. Proper temperature and timing ensure the mouthguard retains its shape and provides a snug, protective fit. Be cautious to avoid water temperatures that are too high or prolonged exposure, as this can degrade the material’s quality and effectiveness. It is crucial to monitor the heating process carefully to prevent overheating, ensuring the mouthguard remains durable and comfortable for long-term use. Avoiding overheating is essential for maintaining the structural integrity and performance of the mouthguard, guaranteeing optimal protection and fit. Proper care during the heating phase is vital to achieve the desired results without compromising the mouthguard’s functionality. Always keep an eye on the time and temperature to prevent overheating, as it can render the mouthguard unusable. The consequences of overheating include a loose fit, reduced protection, and the need for replacement. Therefore, adhering to the specified heating instructions is indispensable to preserve the mouthguard’s quality and ensure it serves its intended purpose effectively.
Improper Cooling Techniques
Improper cooling can distort the mouthguard’s shape, reducing its effectiveness. Avoid rushing the cooling process, as uneven cooling may cause warping. Placing the mouthguard in ice water too quickly can misshape it. Proper cooling ensures the mouthguard retains its fitted shape and provides adequate protection. Always follow the recommended cooling time and method to maintain the mouthguard’s structural integrity and ensure a comfortable, secure fit. Improper techniques can lead to discomfort and reduced protection, making it essential to adhere to guidelines for optimal results.
Care and Maintenance
Regularly clean the mouthguard with mild soap and water. Store it in a ventilated case to prevent bacteria growth. Avoid harsh chemicals or extreme temperatures.
Storing the Mouthguard Properly
Store the mouthguard in a clean, dry, ventilated case to prevent bacteria growth. Avoid submerging it in mouthwash or exposing it to extreme temperatures. Clean it with mild soap and water after each use, then rinse thoroughly before storage. This ensures longevity and maintains hygiene for optimal protection during sports activities.
Cleaning the Mouthguard Regularly
Clean your mouthguard with mild soap and warm water after each use. Use a soft toothbrush to gently scrub away dirt and bacteria. Avoid harsh chemicals or abrasive cleaners, as they may damage the material. Rinse thoroughly and pat dry before storing. Regular cleaning ensures optimal hygiene and prevents odor buildup, keeping your mouthguard fresh and ready for use.
Safety Tips
Always handle the mouthguard safely, using tongs or a slotted spoon to avoid burns. Ensure the water isn’t excessively hot, and never leave it unattended while boiling.
General Precautions
Always handle the mouthguard carefully to avoid burns. Use tongs or a slotted spoon to remove it from boiling water. Ensure the water isn’t excessively hot, as overheating can damage the material. Avoid leaving the mouthguard unattended while boiling. For individuals with dental work, monitor the temperature closely to prevent discomfort or damage. Never exceed the recommended boiling time to maintain the mouthguard’s integrity and proper fit.
Special Considerations for Dental Work
For individuals with braces or dental prosthetics, use slightly cooler water and shorter boiling times to prevent damage or discomfort. Avoid excessive pressure when biting down, as this could dislodge dental work. If you have sensitive teeth or recent dental procedures, consult a dentist before molding. Ensure the mouthguard fits snugly but gently around dental appliances to maintain proper alignment and avoid irritation.

Troubleshooting Common Issues
Address common issues like poor fit by re-boiling and reshaping. If the mouthguard shrinks, soak it in hot water again. Avoid warping by handling carefully and following instructions precisely.
Reshaping a Poorly Fitted Mouthguard
If your mouthguard doesn’t fit well, you can reshape it by re-boiling. Submerge it in boiling water for 30-60 seconds until soft. Carefully remove with tongs or a slotted spoon, then bite down gently to reshape. Avoid overheating, as this can cause warping. For better results, dip in ice water after reshaping to set the new form. Ensure a snug, comfortable fit without pressing too hard.
Fixing a Shrunken Mouthguard
If your mouthguard has shrunk, carefully reheat it in boiling water for 30-45 seconds. Remove it with tongs and gently stretch it back to its original shape while warm. Avoid overheating, as this can cause further shrinkage. Allow it to cool slightly before reshaping to fit your teeth properly. If it remains too small, consider replacing it for optimal protection and comfort during use.
If your mouthguard has shrunk, carefully reheat it in boiling water for 30-45 seconds. Remove it with tongs and gently stretch it back to its original shape while warm. Avoid overheating, as this can cause further shrinkage. Allow it to cool slightly before reshaping to fit your teeth properly. If it remains too small, consider replacing it for optimal protection and comfort during use.
Final Tips for Optimal Fit
Ensure the mouthguard covers all teeth and fits snugly without causing discomfort. Allow it to cool completely before testing the fit. Avoid over-shaping, as this can compromise protection. For the best results, follow the manufacturer’s instructions precisely and store the mouthguard properly when not in use to maintain its shape and hygiene.